L1: Developer Environment Setup#
Objectives#
Set up and use lab software
Understand how to use the classroom computers / your personal computers for classwork
Create a WSL container on the classroom computer
Install and update packages on the Debian operating system
Use git/GitHub for completing and submitting lab and assignment work
Set up coursework repository we will use throughout the semester
Review Bash essentials
Using bash and ssh on the command line
Review bash commands / operations
Overview#
This lab walks through setting up the developer environment we will use throughout the semester, followed a short lab reviewing and developing bash skills.
Context#
In this course, we will frequently run code and commands on a raspberry pi.
An efficient way to work on a remote computer like the pis is to setup a remote bash connection using ssh.
That way, you can write code on a preferred computer, while running code and other commands directly on the raspberry pi as you work.
Using ssh effectively requires getting comfortable with the CLI shell – in this course, our shell will be bash.
Part of getting comfortable with bash is simply getting in the habit of using it for useful things.
Setup#
Complete each of the following tasks:
On Moodle, complete the Lab 1 Hardware & stuff survey
Complete all of the steps in Developer environment setup
Note
If you will use a personal computer for this class, you need to do the developer environment set up on BOTH (1) a lab computer and (2) your personal computer(s).
Sign up for the course repository on GitHub Classrooms
CHECK THE EMAIL ASSOCIATED WITH YOUR GITHUB: accept the invitation to join the class GitHub organization.
Clone the coursework repository onto your developer environment

You need to find this email and accept the invitation in order to access your coursework repository.#
Tracking your coursework progress#
Throughout this class, we are going to make extensive use of git and GitHub to track our work, starting with this lab.
Open your coursework repository in VSCode, and do the following:
Create a branch called
lab-1in VSCode, open the
lab-1/bandit-instructions.txtfileChange the 2nd line
Prepared by: <write your name here>such that your name is written.Immediately make a commit of that change
Push that change, and the
lab-1branch, to your github repo
You’ve now begun the “flow” that both tracks the progress of your work and saves your work in a location independent of your developer environment – we are regularly going to be sharing code across devices.
bash bandit#
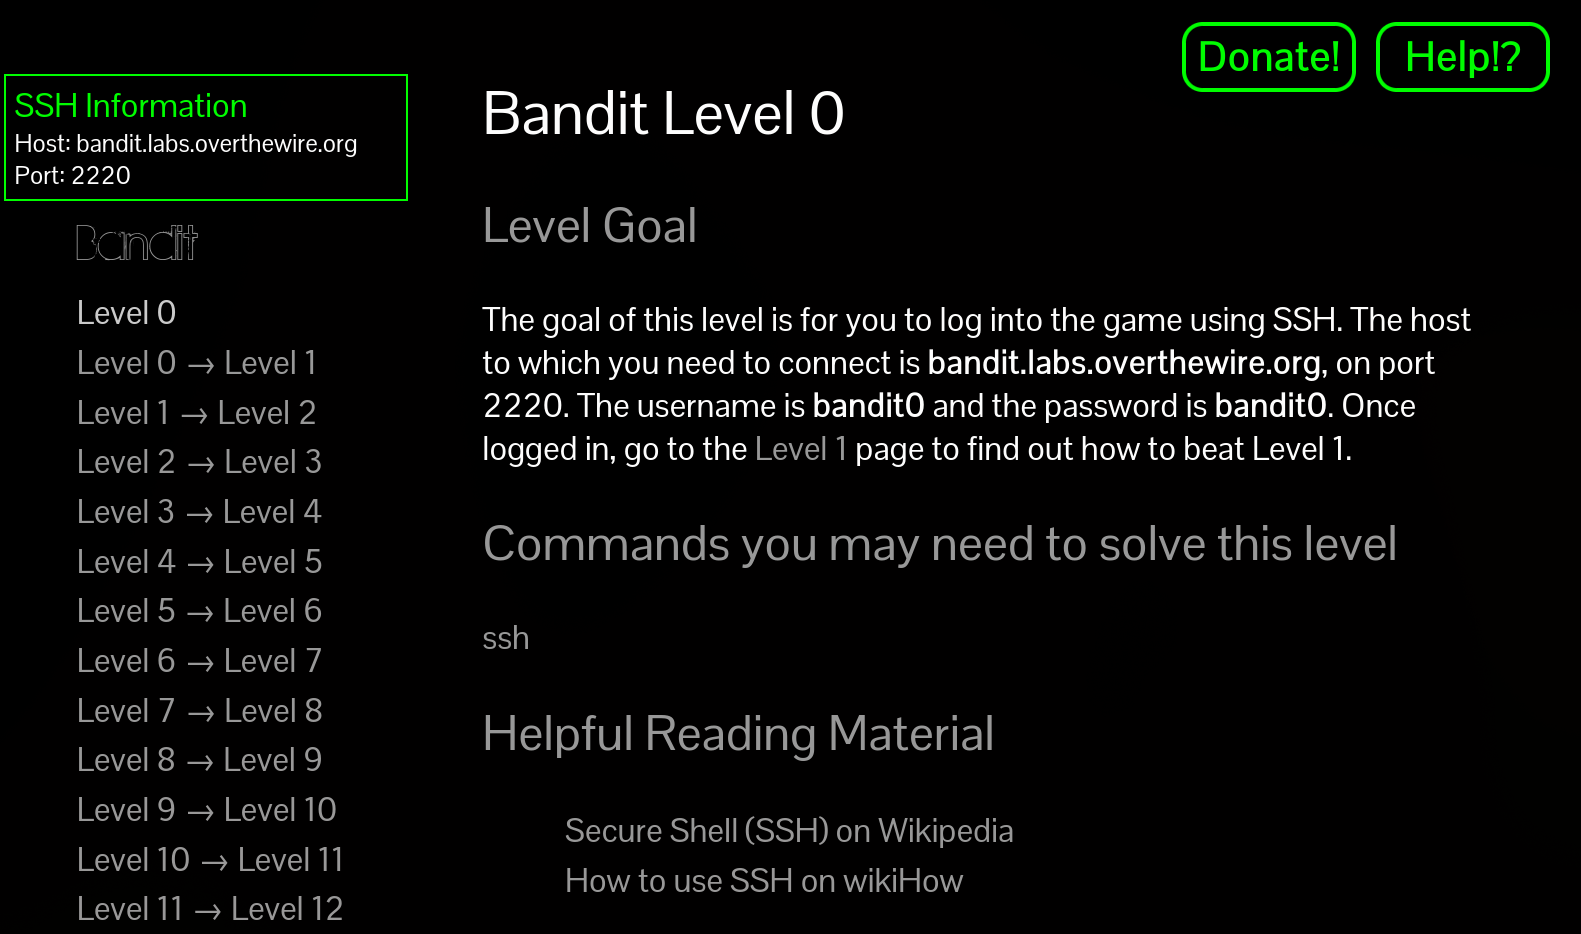
To get us warmed up with using ssh to connect to a remote computer, and using the various bash tools at our disposal, the bash bandit game is great practise.
For this lab, we will aim to complete all levels up to and including Level 5->6.
Each level of the bandit game requires you use one or more bash commands to complete the level.#
Getting started#
Open a terminal on your developer environment. All
sshcommands for the game will be done here.On Windows, use your WSL container
If working on OSX or Linux, use your default terminal
Open
lab-1/bandit-instructions.txtin VSCodeYou will use this file to record your progress through the lab.
The instructions for the lab are contained in the game itself.
IMPORTANT read the Note for beginners! It answers many of the questions you will no doubt have…
Then, proceed to Level 0
IMPORTANT read Level Goal and the Commands you may need to solve this level for each level. They’re helpful!
IMPORTANT Use man
to see what the suggested command can do for you. Use Ctrl + dandCtrl + uto scroll up and down the terminal efficiently, and/to search.IMPORTANT There are lecture notes about bash essentials that cover the main commands you need for bash bandit – try looking at these if you’re stuck.
Note
if you are getting “hostname not resolved” issues in WSL, follow the steps below:
sudo vim /etc/wsl.conf , add the following lines:
[network]

generateResolvConf = false
sudo vim /etc/resolv.conf , add the line:
nameserver 8.8.8.8
sudo chattr -f +i /etc/resolv.conf
For more detail, see https://askubuntu.com/questions/1364984/dns-not-working-on-wsl
Documenting your progress#
As you complete each level, write down in lab-1/bandit-instructions.txt the following:
the password needed to start the level
i.e.,
Level 0-1should havePassword: bandit0, becausebandit0is the password needed to enter theLevel0-1server.
the commands used to find the next password
comments explaining the commands
e.g. necessary paramaters/flags, idea behind the command, why it works, etc.
Note
In each level, the password is a long string of random characters stored in a file on the server. You will need to copy and paste the password frequently – from your bandit-instructions.txt and to your bandit game terminal.
Copy/paste is a bit different on terminals than you may be used to:
Highlight the text holding
Left+clickCopy the text using
Ctrl+Shift+CPaste the text using
Ctrl+Shift+V
Follow the format in the bandit-instructions.txt file. Make sure you read and follow the instructions given in the comments (marked by #).
As you complete the bandit-instructions.txt file, track your progress on the lab-1 branch using git commit. Before you finish working, make sure you git push your commits to upstream lab-1 branch of this repository.
Don’t be shy: you should be committing and pushing your progress to your branch regularly, even if it is not finished – this will let you continue where you left off easily no matter what computer you are working on.
In-class demo#
During class on Monday/Friday, I will take note of your progress. Let me know if you finish early – I will ask you a few questions about your work. If you do not finish by Friday, I’ll ask you about what you have been able to do so far.
Finished early?#
Try to complete more of the bash bandit game! We will be returning to this in future labs, so your time won’t be wasted.
If you haven’t already, set up creating and storing a GitHub Personal Access token on your developer environment using
pass(see the github course notes for more details.)
Rubric#
Hardware & Stuff survey complete on Moodle
WSL set up on lab computer
Dev environment on personal computer (one of four options)
Windows: Same as lab computer
OS X: OSX setup complete
Linux: Linux setup complete
None of the above (if no personal computer will be used)
coursework repository cloned to your developer environment
bash bandit game started
progress made on
bandit-instructions.txthas been committed and pushed to your coursework repositoryOn Friday Jan 24, you have showed your progress on all of the above to the instructor.